Many people in the world are now using Canva since it offers a variety of features for editing photos for free, including image enhancement. SnapEdit will provide you with a detailed instruction on how to enhance images in Canva. Let’s dive in!
How to enhance image in Canva? Step by Step
Using AI to increase image resolution has been a daily task for many people and Canva has been a best friend since then. You can follow this guide to enhance image in Canva if you are new to this application.
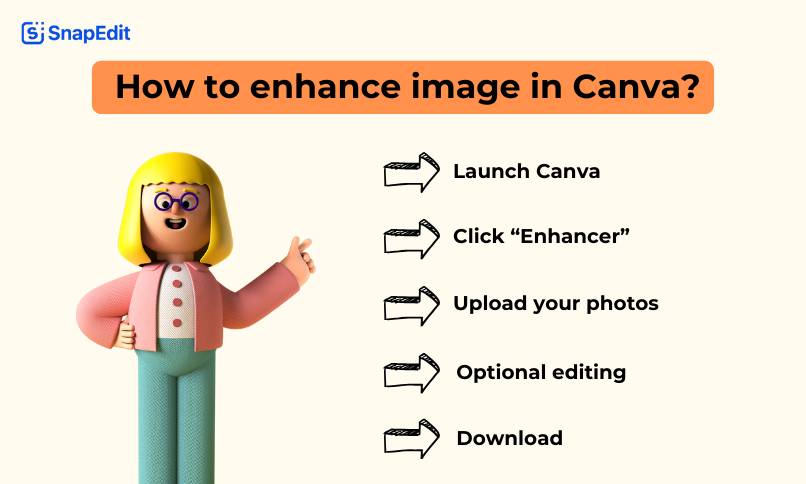
- Step 1: Launch Canva
Open Canva on your browser or download it from AppStore/GooglePlay. You can either choose a template or start a brand-new project on your own.
- Step 2: Open “Image Upscaler”
On the editor’s left sidebar, click on “Apps.” Look for “Image Upscaler” and click on it to start using.
- Step 3: Upload your photos to enhance the quality

You can create a new design then upload a new photos or use the current existing photos in the media.
On the left bar, choose the upscale amount: 2x, 3x,4x, 8x or 16x.
Then choose Upscale Image button.
You can select “Enhance face” so AI can detect face(s) in your pictures and enhance them. After that, click “Enhance photo” to increase the whole photo resolution before downloading it or continue editing.
- Step 4: Optional editing
Canva offers various preset filters that you can apply on your images. Find the “Filters” tab and browse through the options. There are also sliders to adjust Brightness, Contrast, Saturation, Clarity, Highlights, Shadows, and Opacity. Try using these to achieve the desired effect for your images.
- Step 5: Download
Once you are satisfied, you can download the enhanced image or add it directly to your design project. You can also share the photos via email or upload it to your social platforms through Canva.
Also read: How to improve the quality of an old photo
Pros and Cons of using Canva to upscale images
Pros
Many Canva users have shared their positive feedback after using this application for designing and editing. One of them even says they cannot finish their jobs without using Canva everyday. Canva really offers some strong features:
- Simple and User-Friendly: It’s a one-click solution for improving image resolution, thanks to AI technology. You don’t need expertise skills or complicated hardware to get the work done.
- Accessibility: It’s available on both web browsers and mobile apps, making it convenient to use on any device. The free version of Canva already allows basic upscaling.
- Time-saving: Since Canva has AI technology in-app, you will save your precious time without having to edit the photos manually.
Cons:
- Limited Control: The AI Enhancer is like a black box, you have no control over the process. This may lead to unwanted results.
- Limited in Free Version: The free version of Canva offers only basic image resolution. Due to that, users will not receive the best photo quality if they are not willing to pay more.
- The Upscaling Process Takes Time: Though Canva is more time-saving than manual editing, in comparison with other AI tools like SnapEdit enhancer, Upscales.ai or Cutout Pro, the processing time of Canva is longer.
Alternative tools to Canva photo enhancer
SnapEdit is a free photo editing app available on both iOS and Android devices. It offers many features, including the ability to upscale images while maintaining amazing quality. You can try out SnapEdit tools, just click here!
Guide to use SnapEdit photo enhance tool
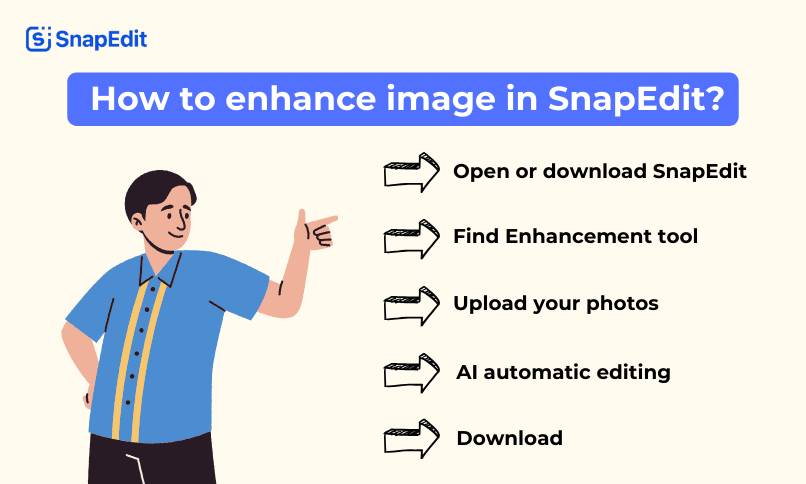
Step 1: Open or download SnapEdit
You can search “SnapEdit” on your PC website or
Go to App Store (iOS) or Google Play Store (Android) and search for “SnapEdit”.
Download and install the application.
Step 2: Enhancement tool
Find the “Enhance” tab at the bottom of the screen. Click it.
Step 3: Upload the photos that you desire to edit
Click “Upload” of Ctrl+V to stick the photo
Step 4: Start editing
Then, click the “Enhance” button to start the process. The AI will do the rest for you.
Step 4: Save the edited photo
Don’t forget to save the edited photos or else they will be deleted after 30 minutes.
Once the process is completed, you can view photos before and after editing.
Click the “Save” button to save the edited photo into your files.
Conclusion
We hope that this blog finds you well and helps you gain more knowledge on how to enhance your image using Canva. We believe that SnapEdit might be a better option, providing you with the best quality for all your pictures.