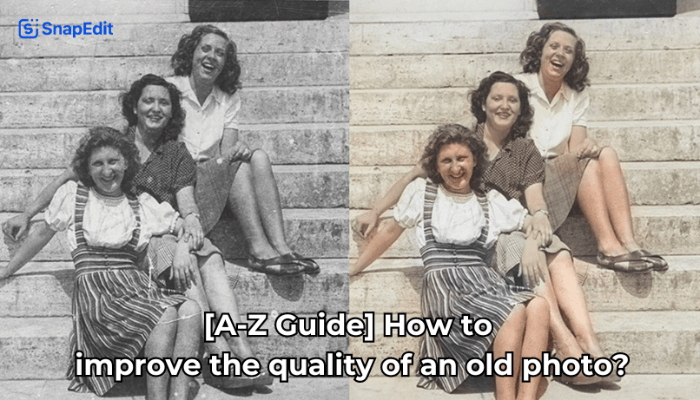
Imagine, one day, you were cleaning out your grandmother’s drawer and suddenly found a portrait photo of her when she was in her 20s. You were amazed by your grandmother’s beauty but struggle to admire it because of the poor quality of the picture.
You tried to find a solution online, searched “how to improve the quality of an old photo” and stumbled upon many different options to help you finish that work.
That’s why we are here to guide you to use both advanced photo editing software and AI restore old photo tool to transform your photo!
Understanding the Basics of Photo Quality
Photos have four key attributes – resolution, clarity, color, and contrast. Resolution determines the sharpness and detail. Clarity refers to the absence of blur or distortion. Color accuracy ensures vibrant hues. Contrast balances light and dark areas.
Old photos often degrade over time. Factors like fading, discoloration, and physical damage can diminish quality. Exposure to light, moisture, and improper storage conditions accelerate this process. Before you learn how to improve the quality of an old photo, Understanding these fundamentals is crucial to choose the right tool in the photo editing software.
Digitize physical old photos
Converting physical photos to digital format offers countless benefits. Digital files preserve fragile originals, enabling easy editing, sharing, and archiving. Scanning provides high-quality digital copies that capture every detail.
When digitizing old photos, use a high-resolution photo scanner for best results.
- Set the scan resolution to at least 600 dpi to ensure maximum quality.
- Scan in lossless file formats like TIFF or RAW, not compressed JPEGs.
- Gently clean photos before scanning to remove dust or fingerprints.
- Avoid exposing originals to direct light, which can cause further damage.
Here are some top-rated tools for digitizing old photos:
| Tool | Key Features |
| Epson Perfection V600 | 6400 dpi optical resolution, 48-bit color depth |
| Canon CanoScan LiDE 400 | 4800 dpi optical resolution, built-in dust removal |
| Plustek OpticFilm 8200i SE | 7200 dpi optical resolution, optimized for film/slides |
| Kodak Scanza | Affordable, user-friendly film and slide scanner |
Regardless of the scanner you choose, take the time to properly set up and calibrate the device for the best possible digital reproductions of your old photos. Careful digitization unlocks the full potential of your cherished memories, allowing you to restore, enhance photos, and preserve them for generations to come.
How to improve the quality of an old photo?
We guide you through two ways to enhance the quality of an old photo: use AI and manually fix it.
Using AI image enhancer
Instead of manually editing, which consumes lots of time and effort and sometimes, are designed for pro only, you can try using AI tools to learn how to improve the quality of an old photo with SnapEdit. We will provide you with a detailed instruction right below:
Step 1: Open or install SnapEdit
SnapEdit has a browser version and also an app version for phone/tablet users.
- Open your browser, search for https://snapedit.app
or download the app with AppStore (for iPhone) or CH Play (for Android).
Step 2: Click “Restore old photo”
Find the “Restore photo” tool and click.
Step 3: Upload the photo you desire to fix
Click “Upload image”, drop the photo or even paste it into the box. Your picture will be fixed in just 1 click!
Step 4: Compare before and after versions
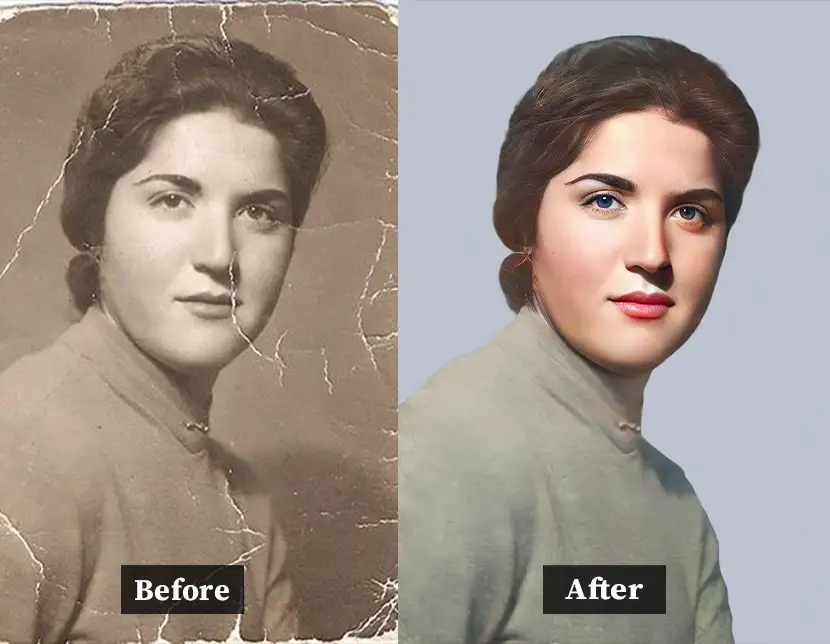
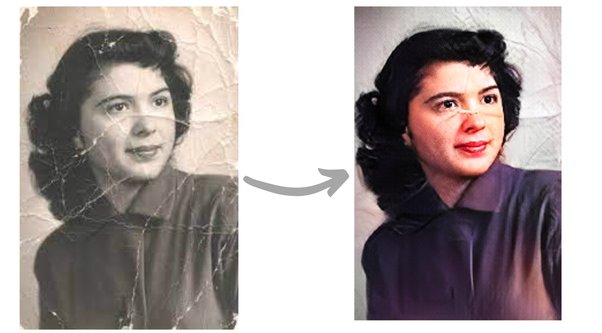
After a few seconds, SnapEdit’s AI will generate a like-new, revived photo that you will definitely be amazed by!
Step 5: Download and beyond
Save the final image to your device and share it to your loved ones, create videos,… Plenty of things you can do afterward!
Professional Photo Restoration Services
Severe photo damage requires professional assistance. Hiring an expert is best for torn, faded, or water-damaged photos. They have specialized skills and equipment to revive even the most challenging old photos.
When choosing a photo restoration service, consider their expertise and track record. Review portfolios and client testimonials. Ensure they use high-quality scanning and editing tools. Discuss turnaround times and pricing upfront. Reputable services offer secure photo handling and digital file delivery.
Some top professional photo restoration providers include:
- MyHeritage Photo Restoration
- PortraitFlip
- PhotoGlory
- VanceAI Photo Restorer
Entrust your cherished old photos to the experts for exceptional results.
Using advanced tool – Adobe Photoshop
There are many tools you can use to improve an old photo quality in Photoshop, even with blurry, discolored, or torn photos. SnapEdit will show you how to do it with this guide:
1: Open Photoshop and upload the photo
- Launch Adobe Photoshop.
- Go to File > Open (File > Open).
- Select the old photo you want to revive and click Open.
2: Copy original photo (optional)
- In order to preserve the original, you should copy the image layer.
- In the Layers panel, right-click on the image layer and select Duplicate Layer.
- Give the duplicate layer a name (e.g. “Photo – Enhance”).
3: Improved common issues
- Blur: Use the Sharpen tool (Filter > Sharpen > Sharpen) or Unsharp Mask (Filter > Sharpen > Unsharp Mask ) to increase image detail.
- Remove Noise: Use the Reduce Noise tool (Filter > Noise > Reduce Noise) to remove noise that often appears on old photos.
- Color Adjustments: Use the Levels tool (Image > Adjustments > Levels) or Curves (Image > Adjustments > Curves) to make adjustments to brightness, contrast, and color.
- Repairing scratches and dust: Use the Spot Healing Brush (J) or Clone Stamp (S) tool to remove scratches, dust and unwanted details.
4: Calibration and cutting (optional)
- Use the Crop Tool (C) to cut off the excess.
- Use the Straighten Image tool (Edit > Transform > Straighten Image) to straighten the image if it is tilted.
5: Save photos
- Go to File > Save As (File > Other Save).
- Choose an image format (recommended: JPG for moderate quality images, PNG for images without background).
- Give the improved image a new name.
- Click Save.
Tips
- Each old photo requires different tools depending on the condition.
- Adjust the tool’s parameters gently to avoid fake photos. You should keep your brush size small to make fine strokes, it is more detailed and realistic that way
- You can find detailed instructional videos on [YouTube] to make it more intuitive.
- Using a tablet instead of a laptop, Photoshop expert and educator Jesús Ramirez advise beginners to use a digital pen and tablet to make precise adjustments.
- In many cases, the Neural Filter can colorize your photo fairly successfully on its own. If you wish to take your colorization techniques a step further, you can adjust the tones in your image using the Color Balance tool. Construct a Curves adjustment layer to change the contrast. Or, you could give Photoshop the assignment. To do this, create an adjustment layer called Curves, select Auto Color Correction Options, and then click Bind Dark & Light Colors. After confirming that Snap Neutral Midtones is selected, click OK.
Conclusion:
SnapEdit believes that with our step-by-step guide on how to improve the quality of an old photo by Photoshop and SnapEdit’s AI technology, you can easily turn the table with your old pics.
Don’t worry about any struggles in editing photos. SnapEdit offers you every tool that you need.